
It’s a familiar scenario: you’re on the road, enjoying your campsite for the night, when all of a sudden you hear that telltale scratching sound. Your first thought is “oh no.” You have mice. What do you do?
In this guide, we will discuss how to use preventative measures to keep mice out of your RV or camper and how to clean up after they’ve invaded.
Table of Contents
How to Keep Mice Out Of Your Camper Van, Trailer, or RV
While mice can move into your camper at any time of the year, the cooler winter months are typically when they tend to nest inside of your RV. Just like you, they’re looking for a warm, dry space to settle down in during the winter! Sometimes, baby mice will burrow in your RV cover for warmth!
Let’s go over some preventative measures you can take to keep mice out of your living space!
1. Inspect Your RV for Entry Points
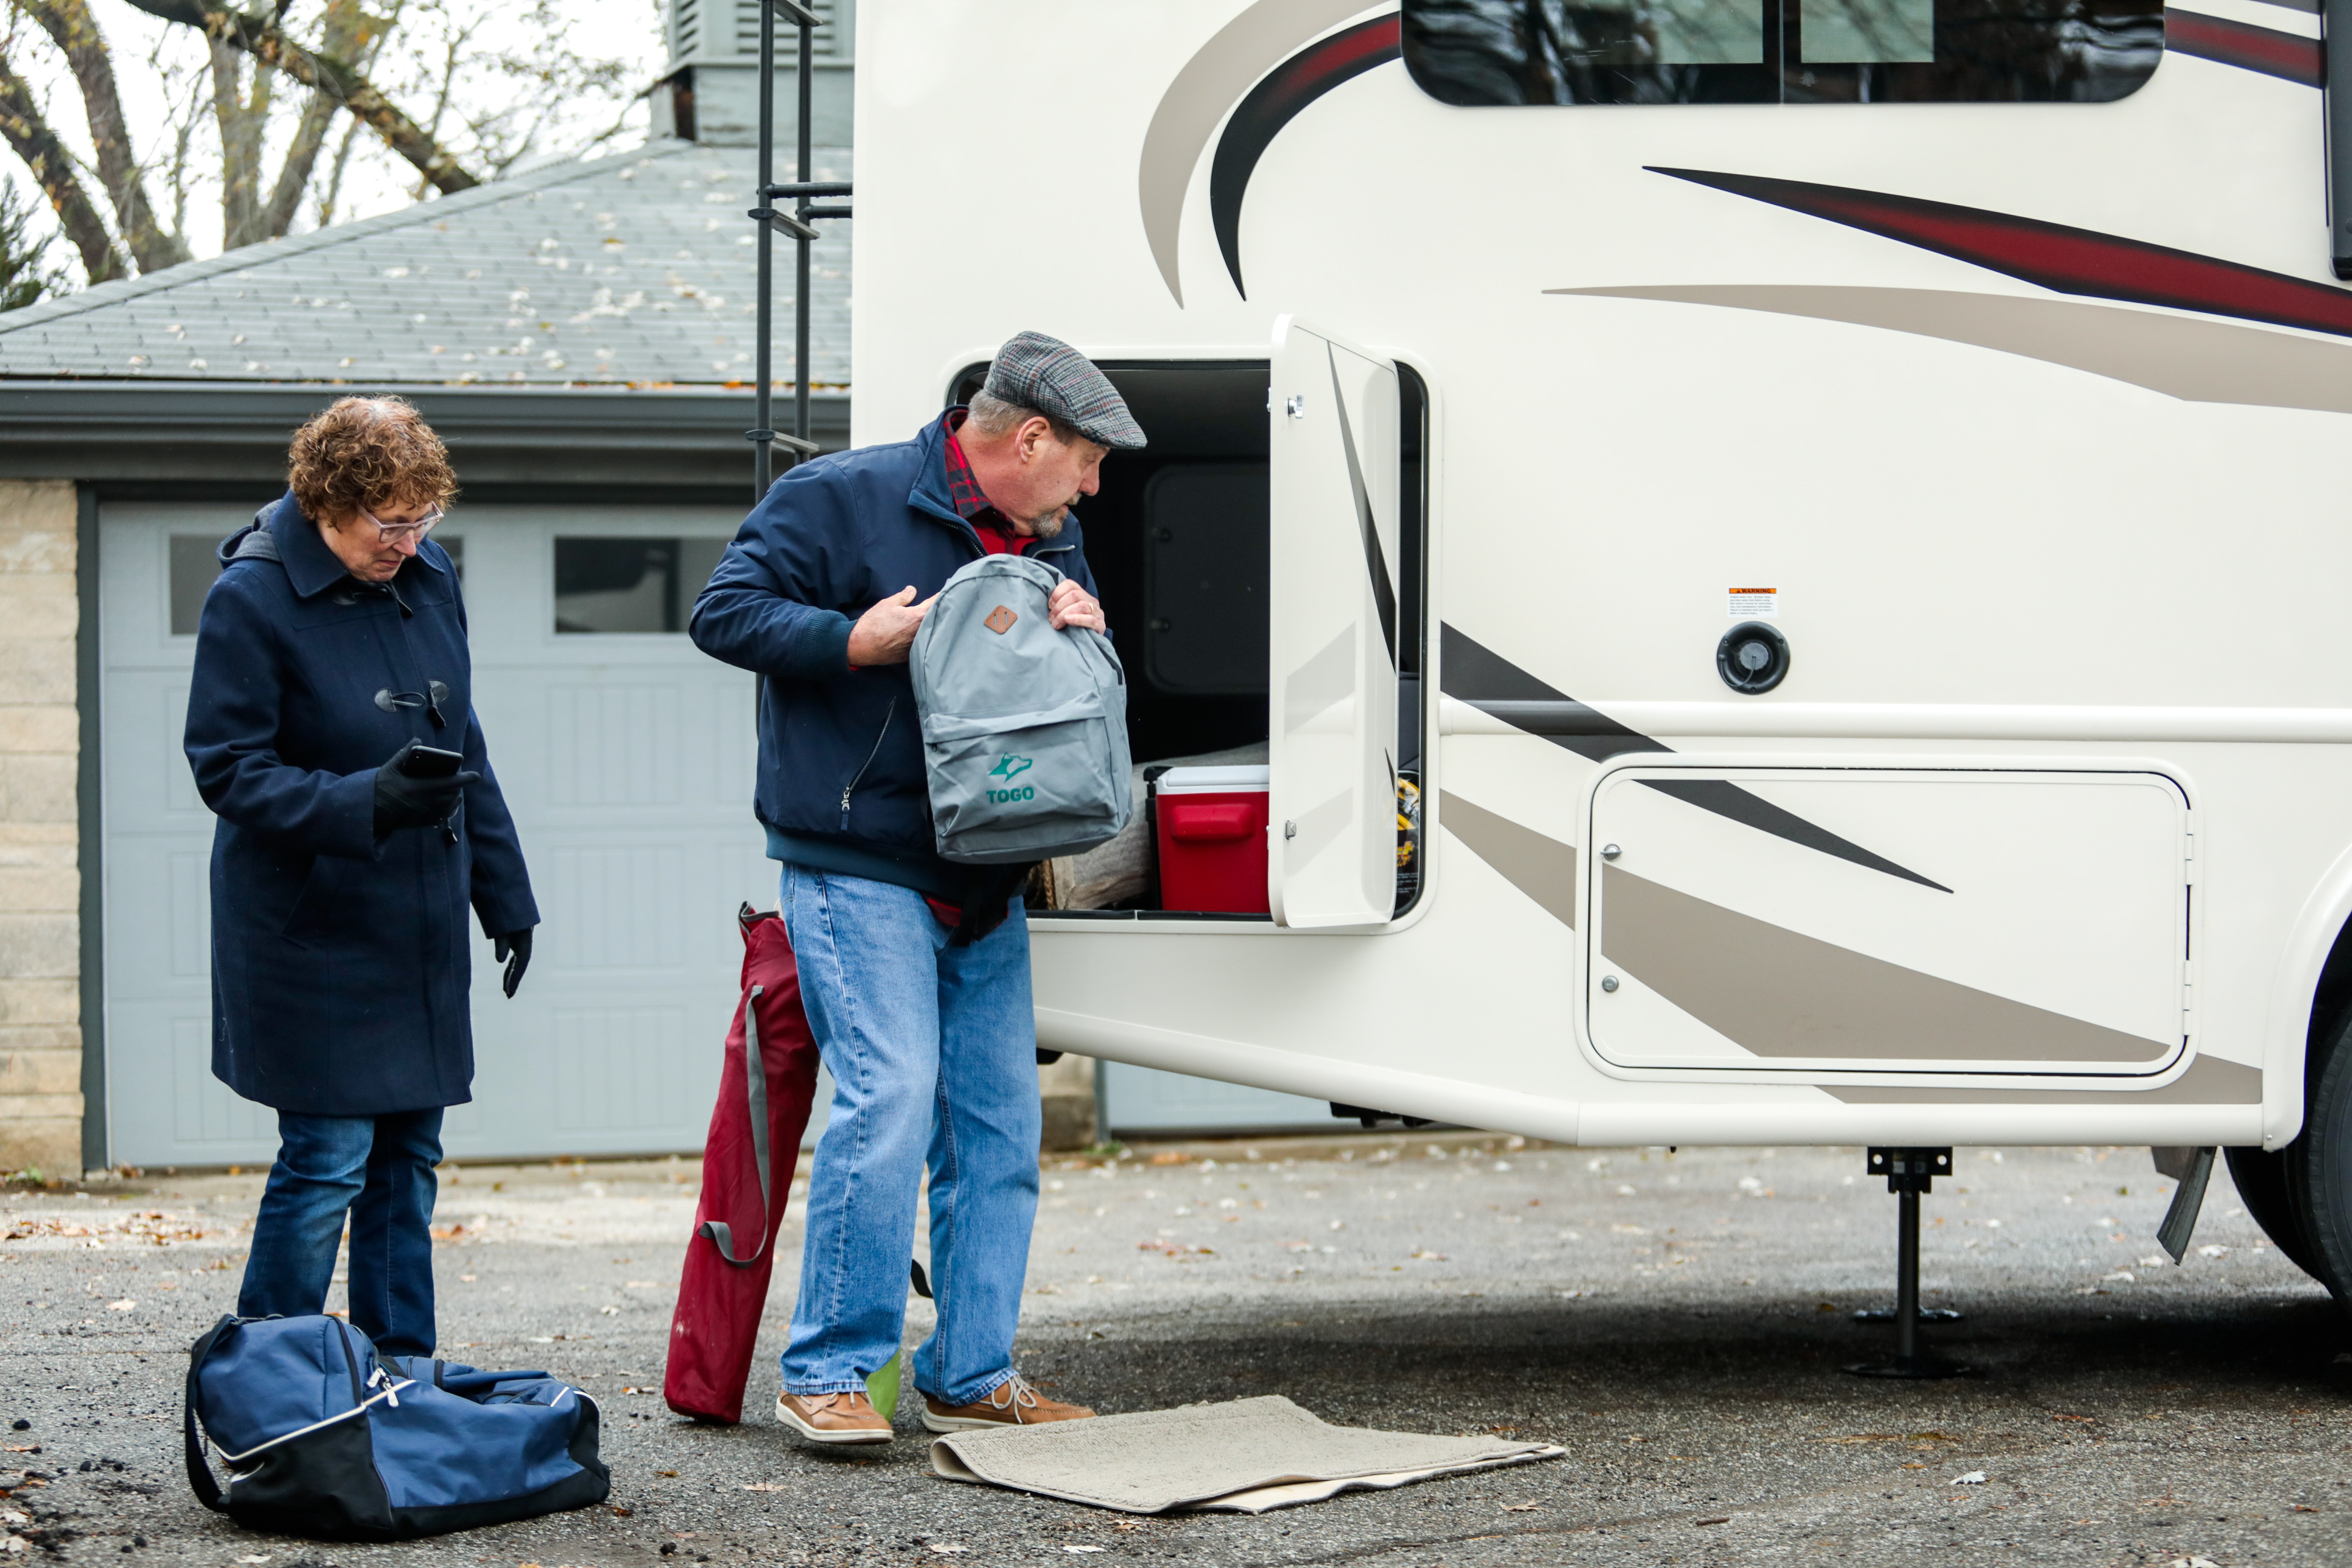
Did you know that there are several potential entry points in and around your RV? They’re not always obvious, either!
We highly recommend you crawl under your RV to check the pipes and wires. See any small holes or cracks under there? Maybe a few chew marks? If so, these are likely entry points for mice. If mice find these easy-access spots, you’re in trouble! You’ll want to patch up these cracks and holes ASAP (before you do, check for trapped mice in the RV pipes to avoid future health problems). See below for more information on how to seal up these holes.
If you have a slide-out, make sure to inspect both sides of it (as well as the seal between the camper and the slide).
Some other possible entry points include:
- Door seams and door frames
- Electrical/power hookups at the campsite
- Any openings around your water system (e.g., faucets, shower)
- Windows without a screen or window coverings
- Access panels
- The engine compartment
- Plastic and rubber lines
Don’t forget to check the roof of your RV as well- especially if there are any tree branches nearby that could provide easy access for critters (mice use tree branches, leaves, grass, and dirt as nesting materials. If you’re near any of these, you could have a problem).
If you live in a high-risk area for mouse invasions (e.g., wooded areas or fields), we recommend doing a more detailed cleaning at least once a month.
So you’ve found the entry point. How do you seal it?
2. Seal Them with Expanding Spray Foam or Caulk
You’ve got a few options when it comes to sealing cracks and holes in your camper. The most common method is to use a caulk gun with an expanding foam sealant (spray foam and steel wool are also quite popular).
Another option is to use steel wool and then cover the area in expanding foam, spray foam, or caulk. Little rodents hate chewing through steel wool because it hurts their teeth, so doing this will deter them from trying to enter your RV.
Regardless of the method you use, we recommend you wear gloves when doing this (as well as eye protection). Mice carry lots of bacteria from their nests that may cause health issues if you come in contact without proper protection!
Looking for spray foam, expanding foam, or caulk? Here’s what people swear by:
Tomcat Rodent Block Expanding Foam Barrier
- Fills gaps and cracks to keep mice from coming inside your home
- Expanding foam provides a long-lasting, airtight and water-resistant bond to most building materials
- The foam can be trimmed, sanded, and painted
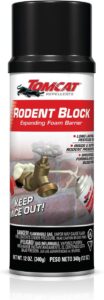
Rodent Control Fill Fabric Large DIY Kit
- Xcluder rodent control fill fabric fills gaps, holes and openings throughout buildings to create a barrier that mice, rats and other pests are unable or unwilling to Gnaw through
- Effective protection against rodent entry through weep holes, gaps around pipes, attic vents, siding, and other vulnerable spots
- Tested and proven effective by the usda’s aphis lab
Once you’ve sealed up all of the potential entry points, it’s time to clean your camper inside and out!
Related Post — 7 Best RV Roof Coating & Sealants in 2021 (Review & Guide)
3. Clean Your Camper Thoroughly After Every Trip
This may sound like common sense, but let’s be honest. How often do you leave food items in your camper after a camping trip?
While keeping canned goods or pet food in storage compartments seems innocent enough, it’s actually going to attract rodents and it’s an open invitation for mice to move in. Mice can reach food regardless of where it’s stored (which is why it’s a bad idea to keep any food in your camper when you’re not using it).
The best way to avoid an infestation is to clean your camper thoroughly after every trip- including the storage compartments! This means wiping down all hard surfaces, sweeping and vacuuming all floors, and emptying all trash cans.
You might find mouse droppings or nests while you’re cleaning- if so, don’t fret! Just take a moment to disinfect the area with bleach or ammonia and then continue cleaning. Be sure to look around these areas for small cracks or holes to prevent a future mouse invasion.
Once your food items are out of your camper (and you’re done traveling for a while), it’s time to store your RV.
4. Store Your RV On Concrete & Away from Mouse Areas
If you have a carport or garage to put your camper in while it’s being stored, you’re one step ahead of the game. If not, we recommend storing your RV on concrete. Concrete is a surefire way to make sure mice stay out of your camper while it’s in storage (mainly because mice can’t burrow through it as they can with dirt).
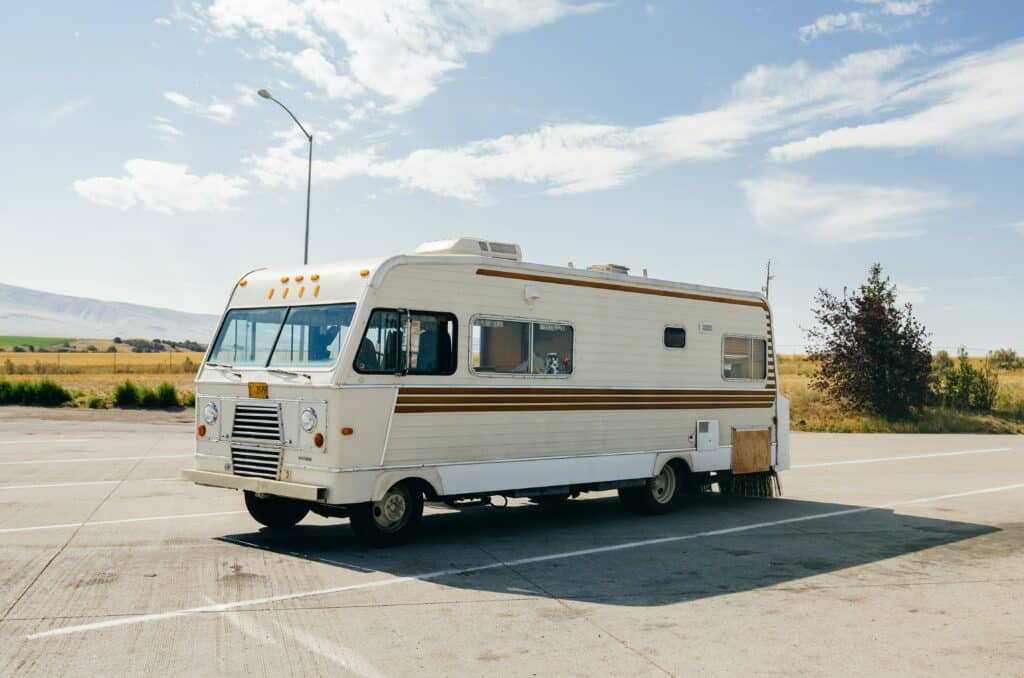
Mice tend to stick close to their nests for safety purposes- this means they’re less likely to move far away from where they came from when looking for food and shelter. Therefore, if you store your camper near another area with mice activity (e.g., next door), there’s a much higher chance of them finding their way inside!
Keep away from grassy or wooded areas when storing your camper or travel trailer for maximum protection.
Make sure all doors are securely shut before placing your camper on concrete. If you have a storage unit, use the lock provided to keep critters out of your RV. Also, take note of how high up off the ground your camper or travel trailer is when it’s being stored- this will help prevent mice from jumping inside during storage time!
It’s a good idea to pour a little peppermint oil spray or cayenne pepper around your camper before storing it. The strong smells will deter mice from nesting in your vehicle.
5. Place Mouse Repellents in Your RV
There are plenty of mouse repellents and humane traps you can place in your RV to repel mice. Some of the best mouse repellents include:
- Dried peppermint leaves (fresh ones work, too)
- Peppermint Balls
- Ultrasonic Pest Repeller or this more powerful version
- Scented pine cones or wooden balls
- Cayenne pepper
- Irish spring soap
- Cotton balls soaked in peppermint oil
- Dryer sheets
- Mothballs
- Catnip
You read that right! Catnip is great for attracting your furry feline companions but is an excellent way to keep mice and other critters out of your camper.
The tried and true method most people swear by? Dryer sheets, mothballs, and Irish spring soap. The strong smell from all of these materials is enough to stop your mouse problem dead in its tracks. However, dipping your cotton balls in peppermint oil is a great way to repel mice without harsh chemicals.
Important – Peppermint oil is toxic to pets (such as cats and dogs). We highly suggest you use other materials to deal with your rodent problem if you have a pet traveling with you.
Whichever repellent you choose, place them in strategic areas throughout your RV- especially near where all the food is stored or where mouse droppings have been found.
Related Post — 100+ RV Space Saving Ideas For Ultimate RV Organization
6. When in Doubt, Arm the Mouse Traps
A different solution is to keep mice away with mouse traps. Some RV owners aren’t even sure if they have mice in their camper until it’s too late! If you ask us, it’s always better to be safe than sorry and set some traps.
Want to figure out which mouse trap is best for you? A few types of mouse traps are:
- The classic snap trap
- The electronic trap
- The glue trap
You can purchase mice traps from the hardware store or online! We recommend these traps:
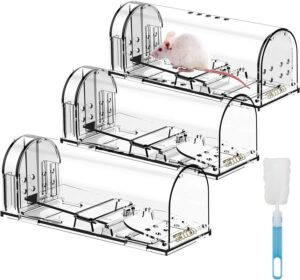
Humane Catch & Release Mouse Trap
- With a simple bait compartment and a touch sensitive lever, these live mouse traps are simple to set up and effective to catch
- Made from supper fine ABS plastic our mouse traps are super easy to clean so they are ready to reuse immediately
- This live mouse trap has no poison
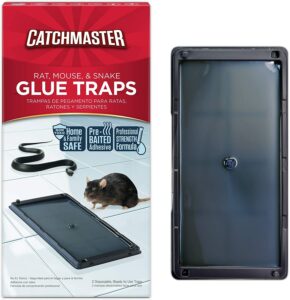
Professional Strength Glue Trap
- These traps are non toxic and safe to have around your RV
- When deployed under normal conditions our long-lasting traps are effective for up to one full year
- Pre-baited and ready to use
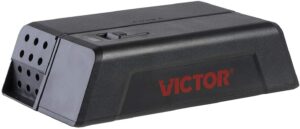
Electronic Mouse Trap
- Kills up to 100 mice per set of fully charged batteries
- Removable kill chamber for easy baiting and cleaning
- No touch, no see experience
If you’re going to use traps, it’s important to place them in areas where you’ve seen droppings or evidence of mice- like near cupboards, food storage containers, and behind furniture. Be sure to bait your traps with something yummy (like peanut butter) so the mouse is more likely to take the bait. If there are any children or pets around, be sure to place traps in an area they can’t get to!
Remember: Always dispose of dead mice properly by placing them in a sealed bag and putting it in the trashcan outside. Never touch a dead mouse with your bare hands!
If you catch a mouse in your trap, relocate it at least five miles away from your camper and make sure it’s no longer an imminent threat before heading inside. We know these little critters are cute, but we really don’t recommend keeping mice that you catch in your traps (especially since they can spread disease fast).
We don’t typically recommend poison traps when dealing with rodents in an RV or camper. If a mouse gets away after coming in contact with the poison, they can die in the nooks and crannies of your RV and if you don’t see them right away, they could rot and cause future health issues.
Make sure to clean your RV thoroughly after any mice invasion you may have dealt with- otherwise, the strong smells from dead rodents will linger around for weeks. It’s also important to vacuum everywhere- including cupboards, drawers, corners of rooms, etc.
Important: Mice droppings pose serious health hazards if not cleaned up promptly (while you won’t get the bubonic plague from mouse droppings, the air can become hazardous if left alone for too long).
How to Clean Your RV After an Invasion
The longer you wait after a rodent infestation, the worse it will be. Head inside your camper with some plastic bins and let’s get to cleaning!
First things first- get rid of any dead mice you find. This means opening up cupboards and peering into nooks and crannies that are normally out of sight. Use gloves to pick them up with paper towels or tissues. Never touch a dead mouse with your bare hands since they can carry diseases (like salmonella).
Next, wipe down all hard surfaces using hot water and soap (a strong dishwashing liquid is best but you can also use a bleach solution). Finally, spray some hydrogen peroxide over affected areas as well as bleach to sanitize everything thoroughly before letting air dry for about an hour.
It’s also a good idea to vacuum all the carpets, furniture, and corners of your camper. This will help remove any traces of mouse droppings or urine. If you have pets, be sure to wash their bedding and toys in hot water as well.
Worried you’re not doing enough? Be sure to follow the CDC’s guideline on how to properly clean up after a mouse infestation.
Mice can be pesky little creatures that can cause a lot of damage- both physically and emotionally! We hope this guide has given you the tools necessary to keep your RV mouse-proof while in storage or on a camping trip!


